Compile GEARS with Visual Studio
The compilation of GEARS can be done solely with Visual Studio. It is complicated, hence is not recommended. But here is how.
After opening Visual Studio, choose “Clone and checkout code”:

Insert the GEARS GitHub repository address https://github.com/jintonic/gears.git in the window below, and click Clone:

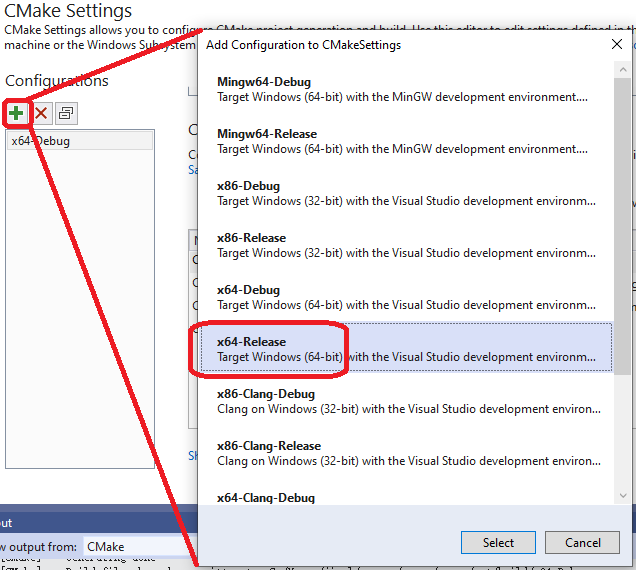
The default configuration of a new project in Visual Studio 2019 is x64-Debug in a 64-bit Windows 10 machine. Choose in the pull down menu shown below Manage Configurations...:

Add x64-Release as the new CMakeSettings in the window below.
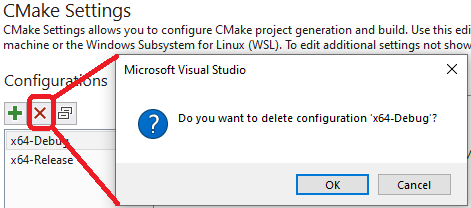
And delete x64-Debug. The x64-Debug setting does not work.
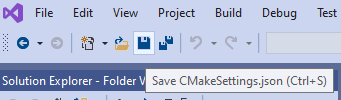
Click on the save icon to save the new settings to a file called CMakeSettings.json in your local GEARS folder:
In the following drop-down menu, select gears.exe:
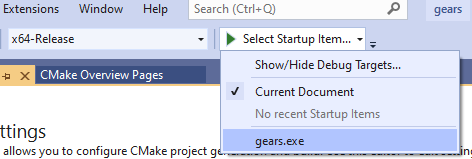
And then press the green play button to compile GEARS:

Upon a successful compilation, gears.exe will be automatically launched within Visual Studio:

If you compiled GEARS using CMake and then Visual Studio, you don’t have to do anything extra, gears.exe has been installed automatically for you. If you only used Visual Studio to compile GEARS, the executable gears.exe is located at \path\to\gears\out\build\x64-Release\. You need to add this folder to the Windows environment variable path so that you can use gears.exe in other directories. A batch file gears.bat is shipped with GEARS to do this for you. Open the GEARS folder in your file browser, copy gears.bat to out\build\x64-Release, right click on it, choose Run as administrator to run it. To check if it works, open a cmd.exe window and type echo %path% in it:
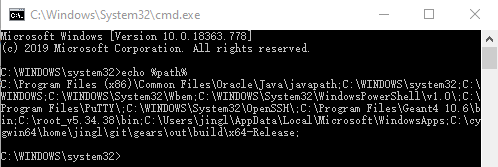
The path to gears.exe should show up at the end of the list.